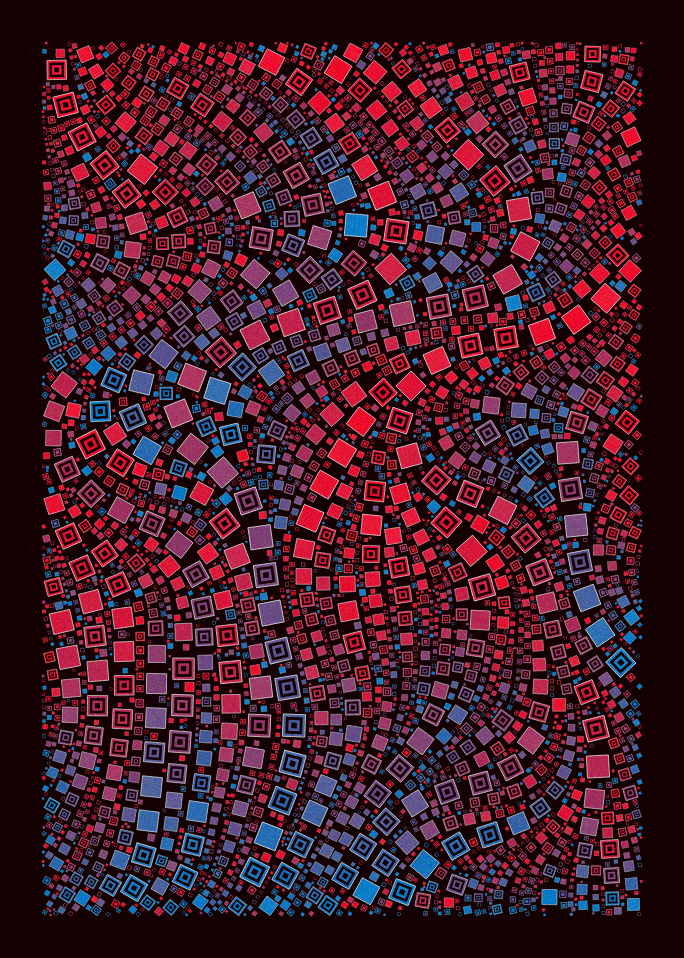
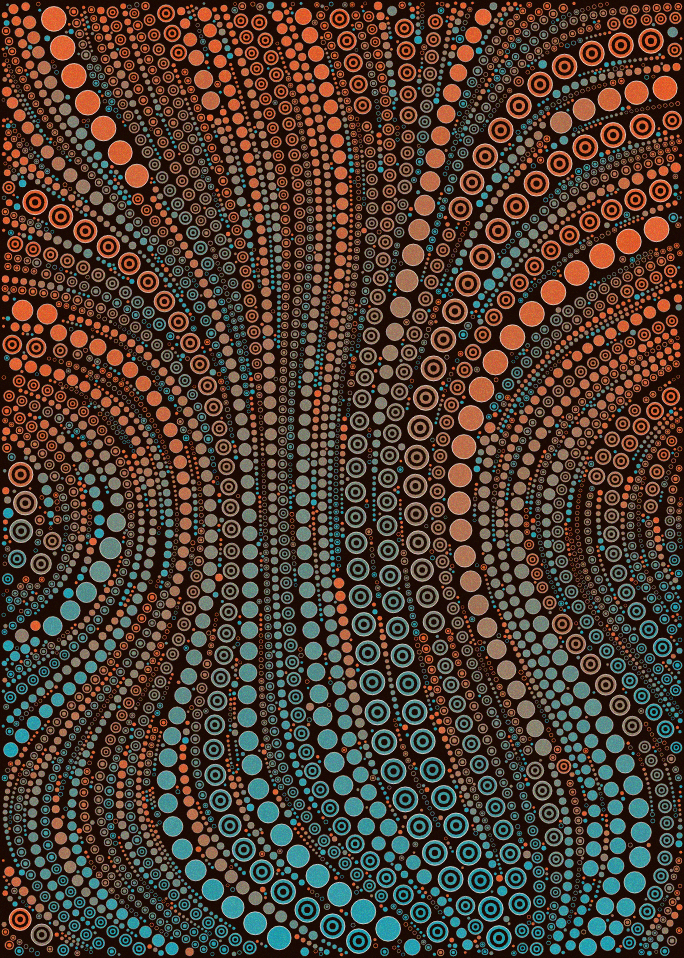
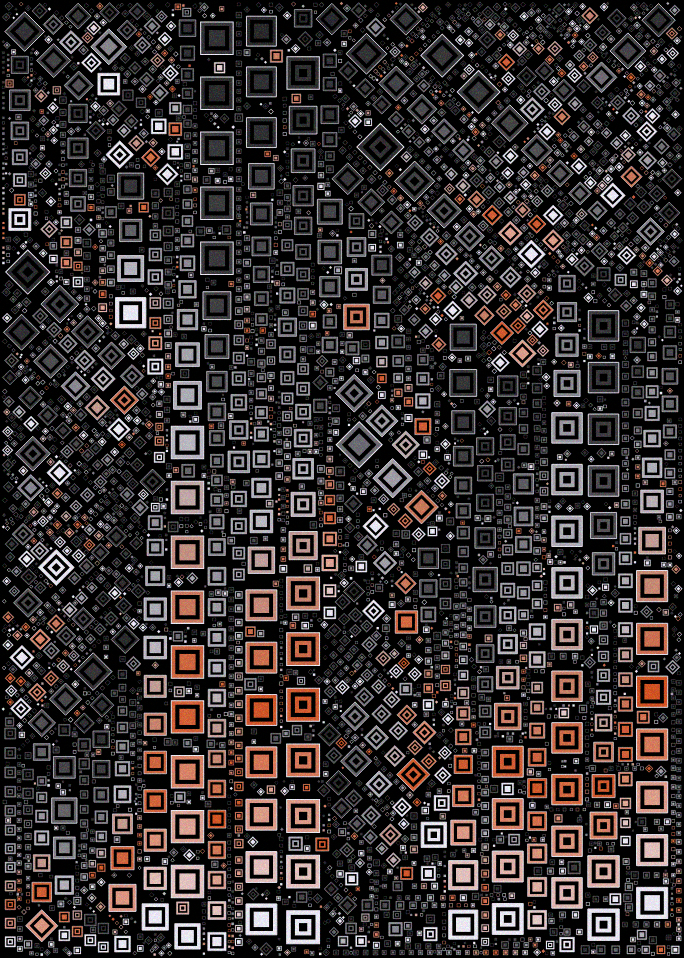
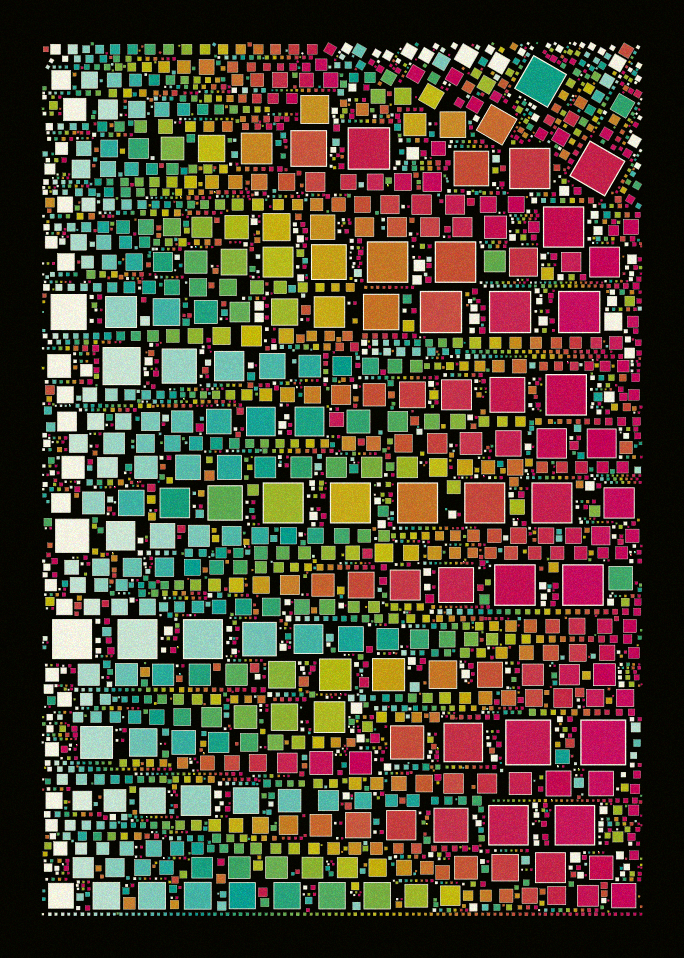
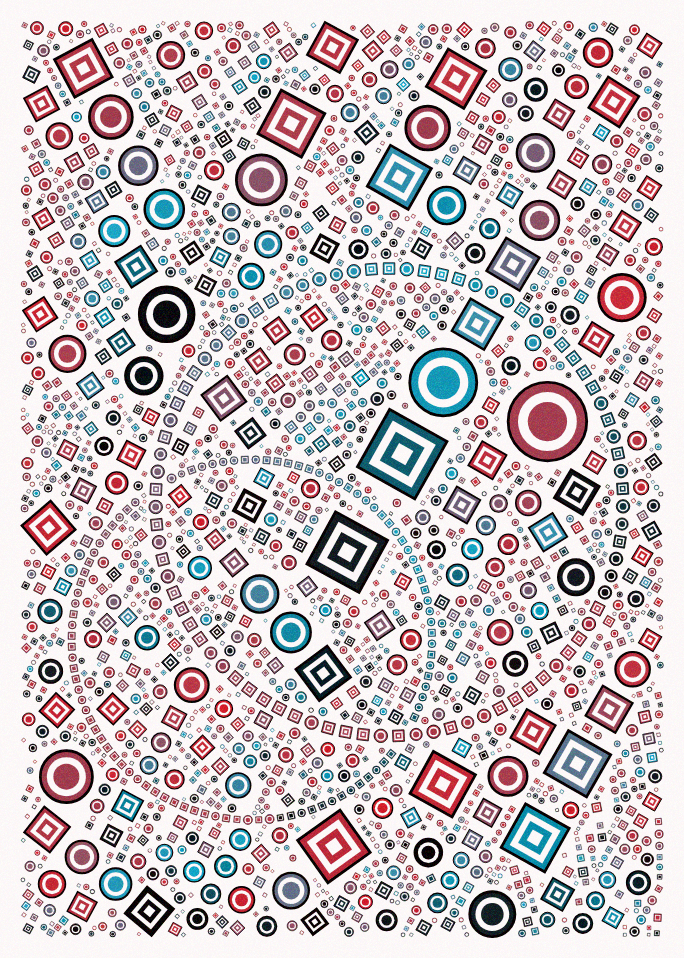
My new project “Fit” is minting as a free open edition on Base, for the entire month of June 204. Get yours here.
As I was listening to Joe Jackson’s song “Fit”, the line “Square pegs in square holes” hit home and gave me the idea to ‘fit’ square shapes on a canvas in a creative way.
That’s how inspiration often goes 🙂
(By the way, give that song a spin – it’s very modern despite being from 1980)
The most remarkable thing about this project, is how fast it renders. Generating a new output is pretty much instant. This walkthrough explains the main techniques that make this possible. It mostly relies on circle packing, which is one of my favorite techniques that I have used in several projects, most notably in “Circle Of Life”.
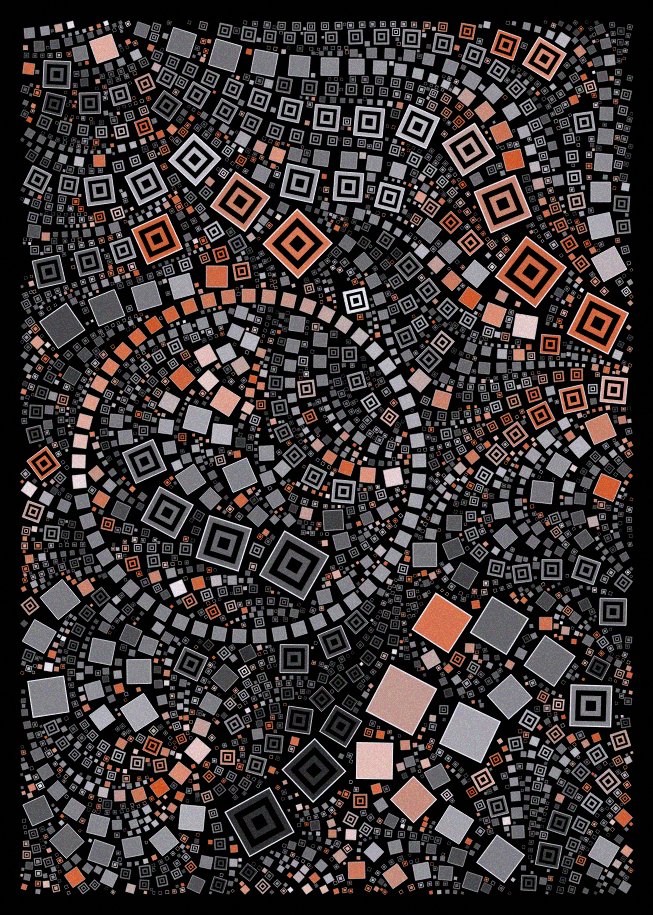
Drawing things along a noise field
Noise fields are a fairly common technique, that the master Tyler Hobbs has described much better than I’ll ever will. The core logic is, define a noise field, and map the 0-1 noise value at any given point
to a 0..360 rotation angle that gives you the direction to go for things at that particular location.
The only original part in my version, is how I implemented the noise. The classical way to implement a noise field is:
- fill a N x N grid with random values.
- the value at a fractional position is computed by interpolating between the 4 corner values. Various interpolation methods are common, but the typical one uses smoothsteps to ensure
there are no sharp edges when crossing from one cell to the next.
The classical method has a number of drawbacks:
- it uses quite a bit of memory for large N
- if you want several noise fields, it needs even more memory – one grid per field.
- it is periodic as you wrap around between N and 0. You can’t make an infitely varying noise field with it.
Here is my own tiny implementation that avoids all of the above problems:
let imul=Math.imul;var smoothstep0=r=>r*r*(3-2*r),fract=r=>r%1,lerp=(r,e,t)=>r+(e-r)*t;let mulberry32=r=>{r|=0;var e=imul((r=r+1831565813|0)^r>>>15,
1|r);return((e=e+imul(e^e>>>7,61|e)^e)^e>>>14)>>>0};const hash2=(r,e,t)=>mulberry32(mulberry32(r+t)+e)/4294967296,noise2d=(r,e,t,h)=>{e*=h,t*=h;var
l=fract(e),s=e-l,a=smoothstep0(l),m=fract(t),u=t-m;return lerp(lerp(hash2(s,u,r),hash2(s+1,u,r),a),lerp(hash2(s,u+1,r),hash2(s+1,u+1,r),a),smoothstep0(m))};
My method comes from the fact that you don’t really need a grid, all you need is a repeatable way to compute the random values at the 4 integer corners.
You can use a hash function to compute these and avoid the need for a precomputed grid entirely. The resulting code is ridiculously small, first we use one of the common hash functions such as mulberry32:
let mulberry32 = (a) =>
{
	a |= 0; a = a + 0x6D2B79F5 | 0;
	var t = imul(a ^ a >>> 15, 1 | a);
	t = t + imul(t ^ t >>> 7, 61 | t) ^ t;
	return ((t ^ t >>> 14) >>> 0);
};
Then we define a 2d hash function that returns a repeatable ‘random’ number for an integer (x,y) pair:
const hash2 = (x, y, seed) => mulberry32(mulberry32(x + seed) + y ) / 4294967296And finally, given a predefined random number unique to the field (“seed”), the point coordinates (x,y) and a scaling factor k that controls the turbulence of the result, the 2d noise function is simply:
const noise2d = (seed, x, y, k) =>
{
  x *= k; y *= k;
  var fx = fract(x);
  var ix = x - fx;
  var fx0 = smoothstep0(fx);

  var fy = fract(y);
  var iy = y - fy;

  return lerp(
    lerp(hash2(ix, iy, seed), hash2(ix + 1, iy, seed), fx0),
    lerp(hash2(ix, iy + 1, seed), hash2(ix + 1, iy + 1, seed), fx0),
    smoothstep0(fy));
};
You can even make a 3D version, if you need such a thing:
const noise3d = (seed, x, y, z, k) =>
{
	var fz = fract(z);
	var iz = z - fz;
	var fz0 = fz;//smoothstep0(fz)

	var offset = iz * 1000 + 0.5;

	return lerp(
    noise2d(seed, x + offset, y + offset, k),
    noise2d(seed, x + offset + 1000, y + offset + 1000, k),
    fz0);
};
Preventing collisions
Drawing a lot of circles on the screen without collisions is, in theory, very simple: keep track of all the circles drawn so far, and adjust the radius of circles so they don’t collide with any previous one.
The basic version is something like this:
for (var i=0; i<ncircles; ++i)
{
    var c = randomCircle();
    for (var j=0; j<circles.length; ++j)
    {
        if (!circlesIntersect(c, circles[j]))
        {
            circles.push(c);
        }
    }
}
It works fine, but gets excruciating slow as you draw more and more smaller circles.
In order to speed things up, we need to limit the number of loop iterations. A really good way is to partition the space so we only run the tests on the circles in the vicinity of the one we are trying to add.
My preferred method is to split the canvas into a grid. The size of grid cells is determined so it is smaller than the largest possible circle radius.
When adding a circle to the grid, we store it based on its center coordinates – and we are guaranteed that any circle intersecting with it, has to be within the same cell, or one of the 8 neighboring cells.
Here is the code for such a circle-based grid:
// a grid for circles only. Circles are { x,y,r}
// Grid cell size = 2* maxCircleRadius, so a circle intersects at most 9 cells

class Grid {
    constructor(W, H, maxRadius) {
        var maxDiameter = 2 * maxRadius;
        this.w = (W / maxDiameter) | 0;
        this.h = (H / maxDiameter) | 0;
        this.W = W;
        this.H = H;
        this.clear_();
    }

    getGridIndexForCircleCenter_(c) // return index of circle center
    {
        var i1 = clamp((this.w * c.x / this.W) | 0, 0, this.w - 1);
        var j1 = clamp((this.h * c.y / this.H) | 0, 0, this.h - 1);
        return i1 + j1 * this.w;
    }

    count_()
    {
        var res = 0;
        this.a.forEach((v) => res += v.length);
        return res;
    }

    insert_(c)
    {
        this.a[this.getGridIndexForCircleCenter_(c)].push(c);
    }

    clear_()
    {
        this.a = [];
        for (var i=0; i<this.w * this.h;++i)this.a[i] = [];
    }

    remove_(c)
    {
        var idx = this.getGridIndexForCircleCenter_(c);
        var a = this.a[idx];
        var index = a.indexOf(c);
        if (index != -1)
        {
            a[index] = a.at(-1);
            a.pop();
        }
        else
        {
            console.log("invalid index found !");
        }
    }


    // return true if there's at least one intersection.
    hasIntersection_(c)
    {
        var idx = this.getGridIndexForCircleCenter_(c);

        // idx = i + j * this.w;
        var j = (idx / this.w) | 0;
        var i = idx - j * this.w;

        var x1 = (i > 0) ? -1 : 0;
        var x2 = (i < this.w - 1) ? 1 : 0;

        var y1 = (j > 0) ? -1 : 0;
        var y2 = (j < this.h - 1) ? 1 : 0;

        // this looks like a scary double loop, but the ranges are at most -1..1, so this tests at most 9 cells.
        for (var x = x1; x <= x2; ++x)
            for (var y = y1; y <= y2; ++y)
                if (this.a[idx + x + y * this.w].find(e=>circleIntersectsCircle(e,c))) return true;

        return false;
    }
}
and with this grid class, the basic code above becomes something like:
for (var i=0; i<ncircles; ++i)
{
    var c = randomCircle();

    if (!grid.hasIntersection_(c))
    {
      grid.insert_(c);
    }
}
It’s pretty much the same as before, but it can now handle a very large number of circles without breaking a sweat. This (and the use of vanilla js instead of P5.js) is the secret behind “Fit” blazingly fast rendering speed.
Now, in this project, I am drawing not only circles, but also squares rotated at an arbitrary angle. This complicates things a bit, as it needs tests for circle / circle, square / square, or circle / square intersections.
Circle / circle tests are very fast, so I’m leveraging the circles-based grid, by storing rotated squares using their enclosing circle + a rotation angle. This way, I can perform the fast intersection tests first.
The logic is like this, for example to test the intersection between a circle and a square:
- first test the circle vs. the circle enclosing the square.
- If these don’t intersect, then there’s no intersection.
- If these intersect, then test the circle vs. the circle inscribed in the square.
- If these intersect, then there’s an intersection.
- Otherwise perform the costly circle / square intersection test
A similar logic is applied to speed up the tests between 2 arbitrarily rotated squares.
Putting it all together
Armed with a noise field and a fast grid-based collision detection algorithm for circles and rotated squares, the main loop of the algorithm then looks like this:
for (var i=0; i<10000; ++i)
{
	var start = pickRandomPoint();
	var circles = collectCirclesFrom(start);
	renderCircles(circles);
}
pickRandomPoint picks a random point in the canvas
collectCirclesFrom returns an array of {x,y,r} describing circles along the flow field, passing through the given start point. The logic for this is:
- place a circle at {x,y} using a large radius. Decrease the radius as needed until that circle doesn’t collide with any other circles in the grid.
- generate the next circle by moving x and y along the noise field, by a distance equal to the radius of the circle we just placed.
- go on until we reach the end of the canvas, or we are unable to add a new circle.
This will generate an array containing a nice stream of circles starting from the start point. Then we do the same, from the same start point, but reversing direction. This gives us a second array.
We reverse that second array, and append the first one to it – and this gives us the full list of circles to draw.
In order to make things a little more interesting with the noise fields, I decided to add random ‘attractors’ to the noise field logic. These are spatial regions that distort the noise field around them. Each attractor has an intensity, distortion angle, and direction (so it can push the field away instead). Combining these is a good way to breathe new life into the (somewhat overused)
noise field effect, with interesting spirals, nodes and swirls.
Generative color palettes
I wanted to keep the code size as small as possible, so I used a generative color palette system. Instead of using a predefined list of colors,
I used a seed for a random number generator and generated colors based on a set of rules. Predefined palettes were stored by generating thousands of these palettes, and curating the ones
I liked best. The beauty of this system is that I was able to store a palette using just its seed, which its a big size improvement compared to a list of specific colors.
For this project I ended up curating 100 different palettes. Most of the times, the generated ones were pleasing enough, so I also kept a rare option to use a fully random palette.
The rules for generating the colors were as follows:
- decide if the palette is using a dark or light background. Depending on this, set the background to black and foreground to white, or the other way around.
- generate up to 24 colors. A single color is generated by picking 10 random colors, and keeping the one that has the largest sum of distances to all the other colors generated so far. There
is also a threshold value that eliminates colors that are too close to an existing one. - adjust the foreground and background, by interpolating them slightly towards one of the colors in the generated list.
- depending on the threshold, sometimes only 2 grey colors are generated. In that case, generate extra shades of grey, interpolated towards a random hue.
- finally, remove a random number of colors from the list
This logic generates palettes where the colors try to maximize their relative distance to each other. I experimented with different ‘distance’ algorithms. Strangely, the clever ones that used
perceptual color adjustments, created worse palettes than the basic one that just adds the square of the differences between the r,g,b components. I also tried other colorspaces but it didn’t
improve things significantly, so in the end I stayed with the simple RGB version.
Artistic choices
At that point, I had a nice engine that could render packed circles along a noise field fairly fast. This is that sweet time where the technical side takes a backseat to the artistic side: “how can I use this to make cool looking things” ?
I love that phase, and can often get stuck in it, experimenting with options, for months.
There are a number of options that let the program generate outputs with a nice amount of variability. Here are the main ones.
- items rendering: circles and squares can be rendered as solid shapes, or using several levels of nested shapes (a nod to QQL). They can also have extra spacing for a more sparse layout.
the chose shape can change at every item drawn, or be kept the same for a given call to renderCircles(). Square shapes can have a fixed angle, or turn along to follow the field. - items size range: the shapes have a random range for their allowed sizes, which creates variations between very dense outputs with thousands of tiny shapes, to more abstract ones with larger shapes.
- color allocation: when rendering the array of circles, colors can span the full color palette, or only a random subset of it. Colors can also be quantized to the selected palette range, or use a gradient between palette colors.
- initial points selection: pickRandomPoint() can, in some case, limit the selection of initial point to a few large random rectangles or circles. Having less freedom for picking up a starting point, the resulting
piece is often more sparse, with larger empty areas. - maximum length along the field: collectCirclesFrom() can limit the number of circles to a random value.
- dual field: in some cases, I used 2 different noise fields, picking one or the other in collectCirclesFrom()
- field quantization: the 0-360 angle given by the noise field, can be quantized to sharp angles.
- initial circles and spirals: in some iterations, before placing circles along the noise field, I also start by placing shapes along larger circles or spirals. This occupies some of the space
in a less predictable way.
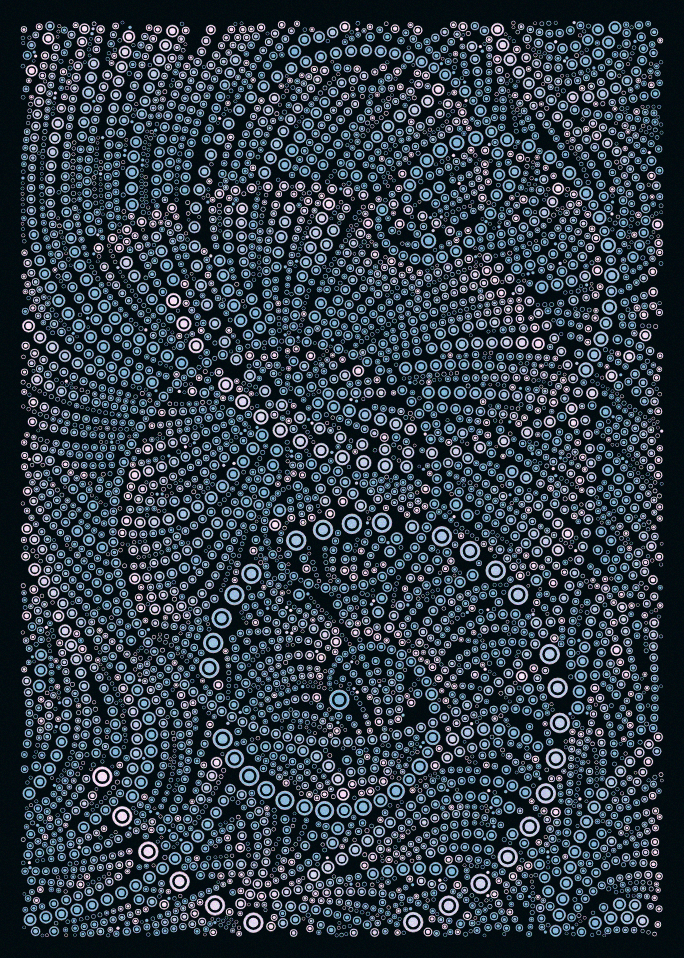
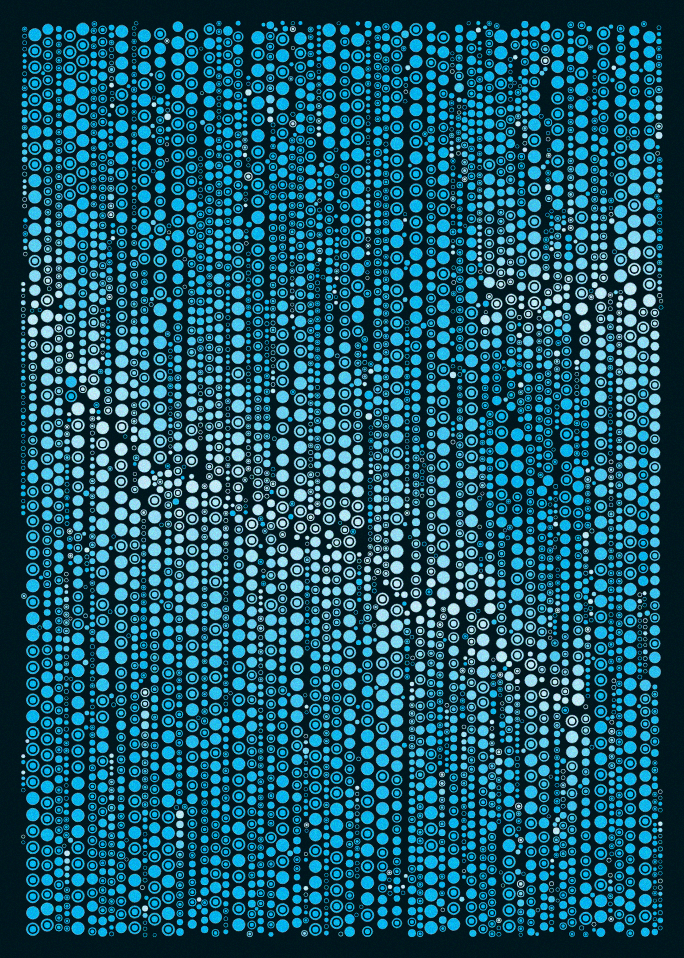
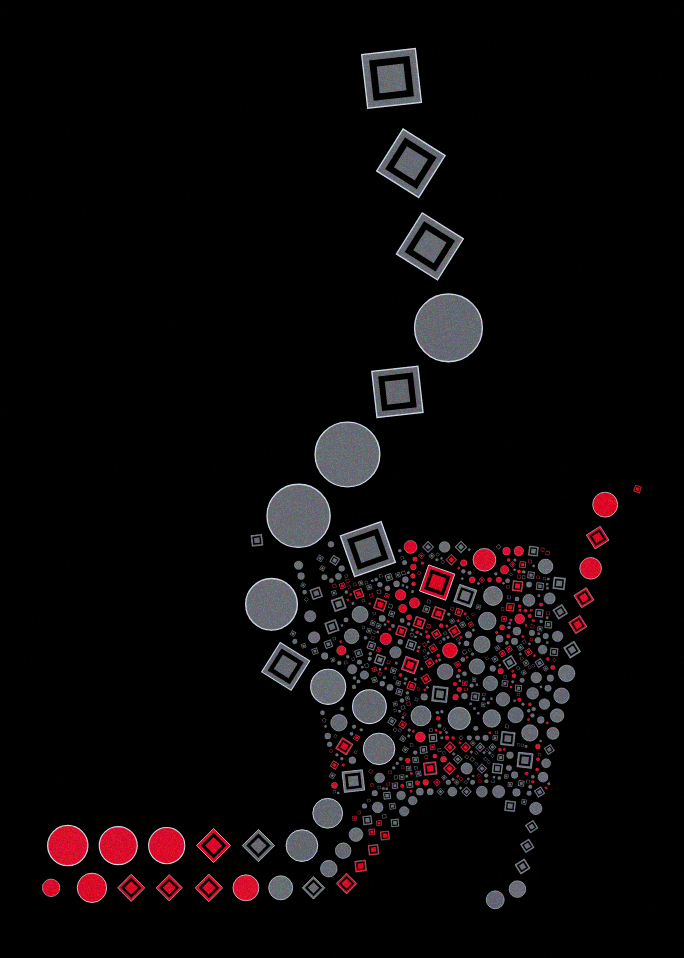
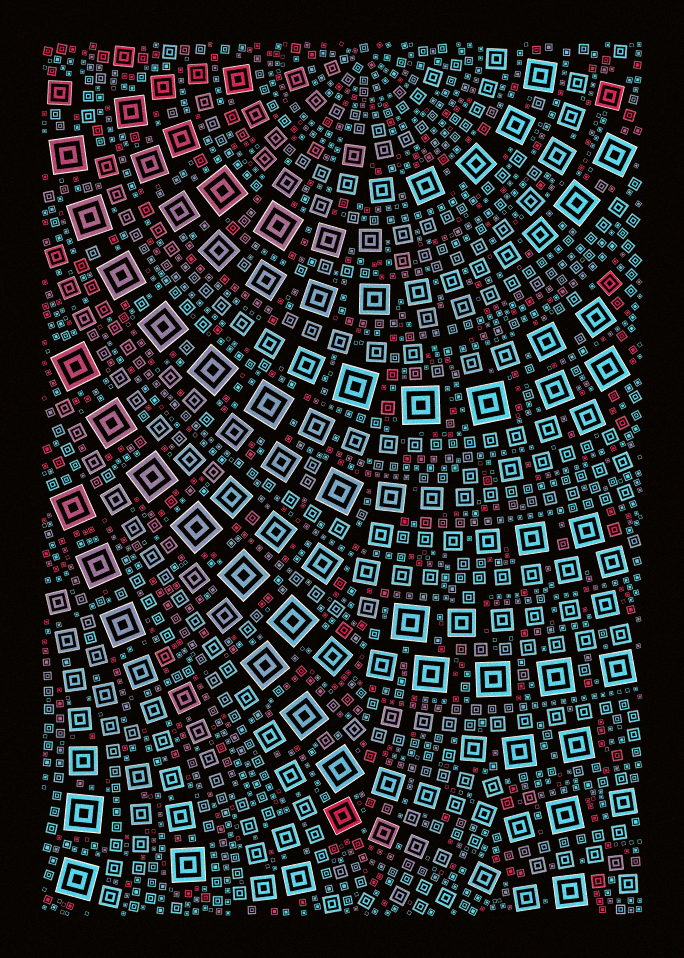
I’ll leave you with a few sample outputs illustrating some of these options, with a wave to all my misfit friends out there…
